49.2.5 A/C Belt Replacement – Everything You Need To Know!
The 49.2.5 A/C belt replacement keeps your car’s air conditioning working well by swapping out the old or damaged belt. Use a simple guide to install the new belt correctly and avoid future issues. Regular checks and replacements help prevent costly repairs.
This comprehensive guide will walk you through the 49.2.5 A/C belt replacement process with detailed, step-by-step instructions to help you complete the job correctly and safely.
Understanding The 49.2.5 A/C Belt – Basic Info!
The 49.2.5 A/C belt—also known as the serpentine belt or accessory belt—plays a vital role in powering your vehicle’s air conditioning compressor. This belt ensures that the air conditioning system works effectively to keep your vehicle cool.
Over time, the belt can wear out, crack, or stretch, leading to reduced performance or failure of the A/C system. Therefore, understanding and performing the 49.2.5 A/C belt replacement is essential for maintaining optimal air conditioning performance.
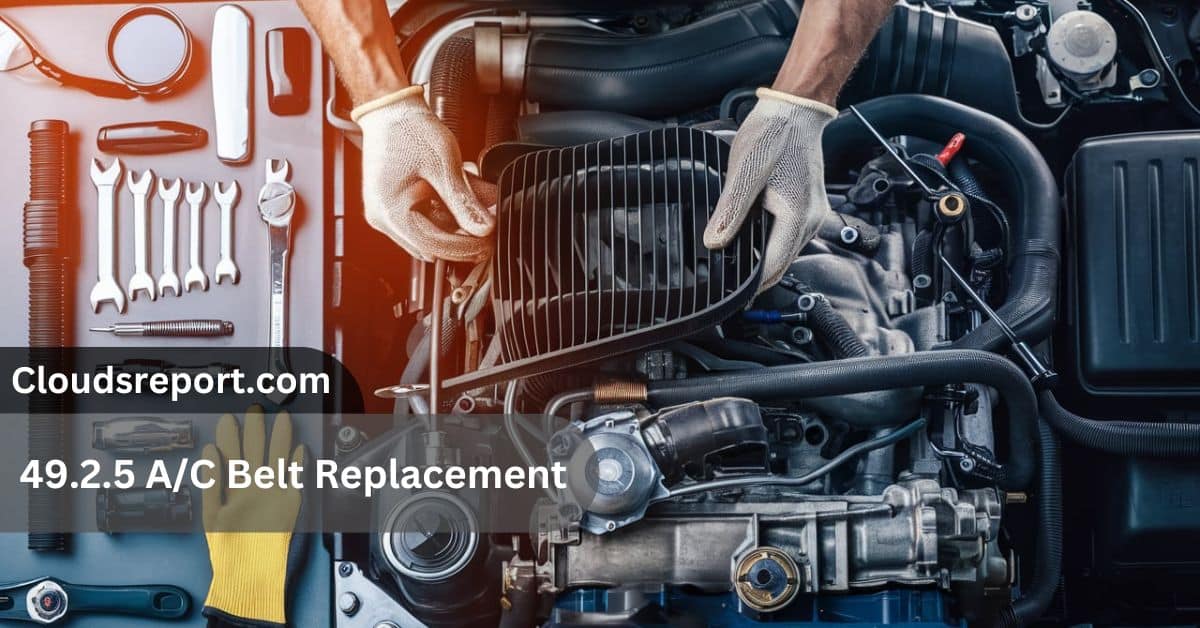
Essential Tools and Materials for 49.2.5 A/C Belt Replacement:
Before beginning the 49.2.5 A/C belt replacement process, gather the following tools and materials:
| Tool/Material | Description |
| Wrench Set | For removing and tightening bolts. |
| Socket Set | For various sizes of bolts and nuts. |
| Belt Tensioner Tool | Adjust the tension of the belt (if required). |
| New A/C Belt | Ensure it matches the specifications for the 49.2.5 A/C belt replacement. |
| Safety Equipment | Gloves and safety glasses to protect yourself during the repair. |
Safety Steps Before Starting The 49.2.5 A/C Belt Replacement – Safety First!
Before starting the replacement process, follow these safety steps:
- Turn Off the Engine: Ensure that the vehicle is turned off, and the engine is cool to avoid any burns or injuries.
- Disconnect the Battery: This prevents any accidental starts and ensures your safety while working near electrical components.
- Park on a Level Surface: Make sure your vehicle is on a flat, stable surface to prevent any movement.
Step-by-Step Guide to 49.2.5 A/C Belt Replacement – Quick & Simple!
1. Locate the A/C Belt:
The A/C belt is typically found at the front of the engine, connected to the A/C compressor and other pulleys. For the 49.2.5 A/C belt replacement, you may need to consult the vehicle’s service manual to find the exact location of the belt and associated components.
2. Remove the Old Belt:
- Relieve Tension: Use a wrench or a belt tensioner tool to relieve tension on the belt. The tensioner is a spring-loaded pulley that keeps the belt tight. Rotate it to loosen the belt.
- Remove the Belt: Carefully slide the old belt off the pulleys. Be cautious not to damage any surrounding components.
3. Install the New Belt:
- Route the New Belt: Place the new belt around the pulleys in the same configuration as the old one. Refer to the vehicle’s diagram or service manual for the correct routing path.
- Adjust Tension: Use the tensioner tool or wrench to apply tension to the new belt, ensuring it is snug but not overly tight. Proper tension is crucial for the 49.2.5 A/C belt replacement.
4. Check Your Work:
- Alignment: Confirm that the belt is properly aligned with all pulleys and is seated correctly in the grooves.
- Reconnect the Battery: After ensuring everything is correctly installed, reconnect the battery.
- Start the Engine: Turn on the engine and listen for any unusual noises. Check that the belt moves smoothly and is properly aligned.
5. Final Check:
- Monitor Tension: After running the engine for a few minutes, turn it off and recheck the belt’s tension.
- Adjust if Necessary: Make any required adjustments to ensure the belt remains at the proper tension.
Common Issues and Troubleshooting for 49.2.5 A/C Belt Replacement:
1. Squealing Noises
Issue: After completing the 49.2.5 A/C belt replacement, you may hear squealing noises coming from the engine.
Possible Causes:
- The belt may be too loose.
- The belt may be misaligned.
- The belt tensioner could be faulty.
Troubleshooting:
- Check the belt tension and adjust it if necessary.
- Ensure the belt is properly aligned with all pulleys.
- Inspect the belt tensioner for any signs of wear or malfunction and replace if needed.
2. Belt Wear and Cracking:
Issue: The new belt shows signs of premature wear or cracking soon after installation.
Possible Causes:
- Misalignment of the belt.
- Faulty pulleys or tensioner.
- Incorrect belt tension.
Troubleshooting:
- Recheck the belt alignment and adjust it according to the vehicle’s service manual.
- Inspect the pulleys for damage or wear.
- Ensure the belt tension is set correctly and adjust if necessary.
3. Belt Slipping:
Issue: The belt slips off the pulleys or exhibits poor traction.
Possible Causes:
- Incorrect installation of the belt.
- Worn or damaged pulleys.
- Excessive tension on the belt.
Troubleshooting:
- Verify that the belt is routed correctly around the pulleys.
- Inspect the pulleys for damage or wear and replace if needed.
- Adjust the belt tension to the manufacturer’s specifications.
4. Engine Overheating
Issue: The engine overheats shortly after the 49.2.5 A/C belt replacement.
Possible Causes:
- The A/C belt may be improperly installed, affecting other engine components.
- The belt could be too tight, putting extra strain on the engine.
Troubleshooting:
- Recheck the installation of the A/C belt and ensure it is correctly routed.
- Adjust the tension to avoid excessive strain on the engine components.
Frequently Asked Questions (FAQs):
1. How often should I perform the 49.2.5 A/C belt replacement?
Typically, the A/C belt should be inspected every 30,000 to 50,000 miles. Replacement intervals can vary based on driving conditions and vehicle specifications.
2. What are the signs that the A/C belt needs replacement?
Signs include squealing noises, reduced air conditioning performance, or visible cracks and wear on the belt.
3. Can I replace the A/C belt myself, or should I take it to a mechanic?
Replacing the A/C belt is a task many DIY enthusiasts can handle with the right tools and instructions. However, if you’re unsure or uncomfortable with the process, it’s best to consult a professional mechanic.
4. What happens if I ignore a worn A/C belt?
Ignoring a worn A/C belt can lead to complete failure of the air conditioning system, which can be uncomfortable and costly to repair. It may also cause damage to other components if the belt snaps.
5. How do I choose the correct replacement A/C belt?
Consult your vehicle’s service manual or a parts specialist to ensure you purchase the correct belt size and type for your specific model.
6. Is replacing the belt tensioner with the A/C belt necessary?
Replacing the belt tensioner is not always necessary unless it shows signs of wear or malfunction. However, inspecting and potentially replacing it during the A/C belt replacement can prevent future issues.
Conclusion:
The 49.2.5 A/C belt replacement process involves careful attention to detail and proper execution to ensure your vehicle’s air conditioning system functions optimally. By following this comprehensive guide, you can successfully replace the A/C belt and maintain your vehicle’s comfort and performance.
Regular maintenance and timely replacements are key to extending the life of your vehicle’s components and avoiding costly repairs.
Latest Post: