21153-7010 16121 Starter Rebuild Kit – Affordable Components!
The 21153-7010 16121 starter rebuild kit is a cost-effective solution for restoring your vehicle’s starter motor. It includes high-quality components to replace worn-out parts, extending the motor’s lifespan and improving performance.
This guide will provide a thorough understanding of the 21153-7010 16121 starter rebuild kit, covering every aspect, from the components included to the step-by-step process of rebuilding your starter motor. We’ll also explore why using this specific kit can save you time, money, and the hassle of frequent replacements.
What Is The 21153-7010 16121 Starter Rebuild Kit?
The 21153-7010 16121 starter rebuild kit is designed specifically for refurbishing and restoring the functionality of a starter motor. A starter motor is a crucial component of any vehicle’s engine, responsible for initiating the engine’s operation by turning the crankshaft.
Over time, the starter motor can wear out, leading to issues such as difficulty starting the engine, strange noises, or complete failure. The rebuild kit addresses these problems by replacing worn-out parts, ensuring that the starter motor functions like new.
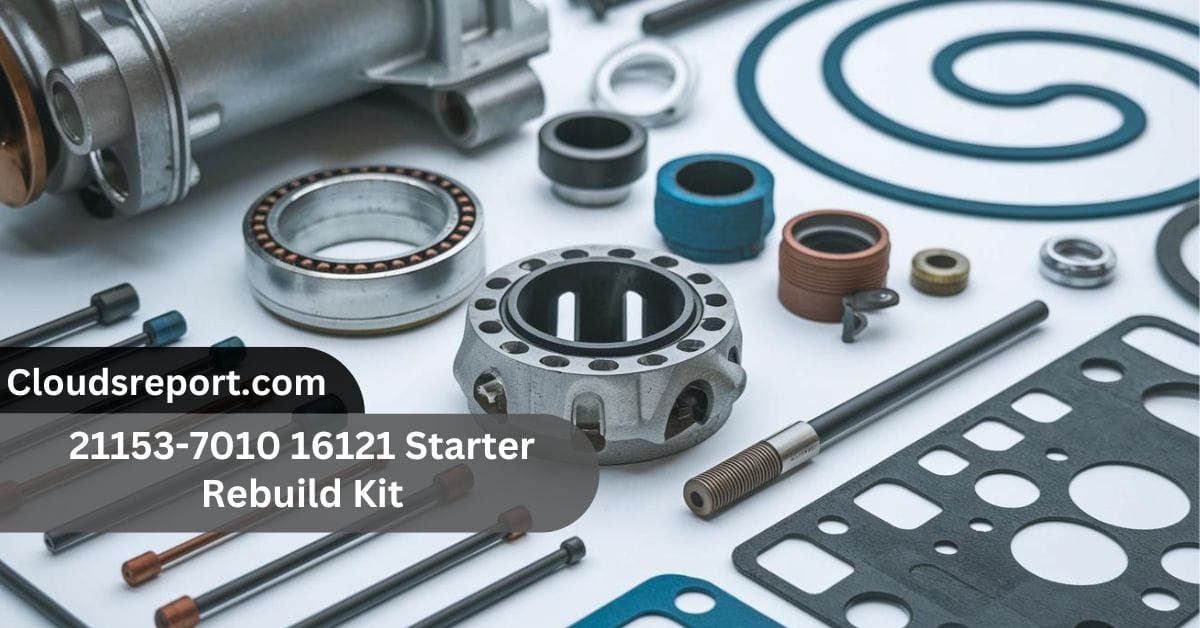
Components Of The 21153-7010 16121 Starter Rebuild Kit:
Understanding the components included in the 21153-7010 16121 starter rebuild kit is essential for anyone planning to rebuild their starter motor. Here’s a detailed look at what you can expect in this kit:
Brushes:
- Function: Brushes are crucial for transferring electrical current to the rotating parts of the starter motor. Over time, brushes can wear down, leading to poor electrical contact and reduced motor efficiency.
- Replacement: New brushes in the rebuild kit restore proper electrical contact, improving the motor’s performance.
Bearings:
- Function: Bearings reduce friction between the moving parts of the starter motor. They support the rotating components, ensuring smooth operation.
- Replacement: Worn bearings can cause noise and increased wear on other parts. Replacing them with new ones from the kit helps maintain smooth operation and extends the life of the starter motor.
Bushings:
- Function: Bushings help stabilize the starter shaft and reduce wear on the shaft and housing. They are essential for maintaining the alignment and smooth rotation of the starter motor.
- Replacement: Replacing old bushings with new ones ensures that the starter shaft remains stable and aligned, preventing excessive wear.
Seals and Gaskets:
- Function: Seals and gaskets prevent dirt, moisture, and other contaminants from entering the starter motor, which can cause damage and reduce its lifespan.
- Replacement: New seals and gaskets from the rebuild kit ensure that the motor remains clean and protected, reducing the risk of premature failure.
Why Choose The 21153-7010 16121 Starter Rebuild Kit?
Choosing the 21153-7010 16121 starter rebuild kit offers several advantages over simply replacing the entire starter motor or using a generic rebuild kit. Here’s why this kit is the preferred choice for many:
Cost-Effectiveness:
Rebuilding a starter motor using the 21153-7010 16121 starter rebuild kit is significantly cheaper than purchasing a new starter motor. It allows you to restore the motor to like-new condition without the high cost associated with a full replacement.
Quality Components:
The kit includes high-quality components specifically designed to match the original specifications of the starter motor. This ensures that the rebuilt motor performs as well as, if not better than, the original.
Compatibility:
The 21153-7010 16121 starter rebuild kit is designed to be compatible with a wide range of starter motors. This makes it a versatile solution for different vehicles, reducing the need to find a specific kit for your motor.
Extended Lifespan:
By replacing the worn-out parts with new, high-quality components, the lifespan of your starter motor is extended, reducing the need for frequent repairs or replacements.
Ease of Use:
The kit is designed with the DIY enthusiast in mind. It includes all the necessary components and detailed instructions, making the rebuilding process straightforward and accessible, even for those with limited mechanical experience.
Step-By-Step Guide To Rebuilding A Starter Motor Using The 21153-7010 16121 Starter Rebuild Kit:
Rebuilding your starter motor with the 21153-7010 16121 starter rebuild kit is a practical and rewarding task that can save you money and improve your vehicle’s performance. Here’s a step-by-step guide to help you through the process:
Step 1: Preparation
- Tools Required: Gather the necessary tools, including a socket set, screwdrivers, a puller for bearings, a brush holder tool, and safety gear such as gloves and goggles.
- Work Area: Set up a clean, well-lit workspace. It’s important to work in an organized environment to keep track of small parts.
Step 2: Removal of the Starter Motor
- Disconnect the Battery: Before beginning, disconnect the battery to prevent any electrical accidents.
- Locate the Starter Motor: Typically found near the bottom of the engine, you may need to consult your vehicle’s manual for exact placement.
- Remove the Motor: Unbolt the starter motor from the engine. Be careful to note the position of any wires or components for reassembly later.
Step 3: Disassembly of the Starter Motor
- Open the Motor: Carefully disassemble the starter motor, taking note of the position and condition of each part.
- Inspect Components: Assess the condition of the brushes, bearings, bushings, seals, and other internal components. Replace any worn or damaged parts with those from the 21153-7010 16121 starter rebuild kit.
Step 4: Replacing Brushes
- Remove Old Brushes: Use a brush holder tool to remove the worn brushes.
- Install New Brushes: Insert the new brushes from the kit, ensuring they are securely in place and make proper contact with the commutator.
Step 5: Replacing Bearings and Bushings
- Remove Old Bearings: Use a puller tool to carefully remove the old bearings.
- Install New Bearings: Press the new bearings into place, ensuring they are aligned correctly.
- Replace Bushings: Similarly, remove and replace any worn bushings with new ones from the kit.
Step 6: Replacing Seals and Gaskets
- Remove Old Seals: Carefully pry out the old seals and gaskets without damaging the surrounding areas.
- Install New Seals: Fit the new seals and gaskets into place, ensuring they are seated properly to prevent leaks.
Step 7: Reassembly of the Starter Motor
- Reassemble the Motor: Once all components are replaced, reassemble the starter motor in the reverse order of disassembly.
- Test the Motor: Before reinstalling the motor in your vehicle, connect it to a power source to ensure it operates correctly.
Step 8: Reinstalling the Starter Motor
- Mount the Motor: Reattach the starter motor to the engine, ensuring all bolts and wires are securely connected.
- Reconnect the Battery: Once everything is in place, reconnect the battery and test the motor by starting the vehicle.
Common Issues And Troubleshooting – Must Know!
Even with a high-quality kit like the 21153-7010 16121 starter rebuild kit, issues can arise during the rebuilding process. Here are some common problems and how to troubleshoot them:
Motor Fails to Start:
Check Connections: Ensure all electrical connections are secure and that the battery is fully charged.
Inspect Brushes: Poor brush contact can prevent the motor from starting. Recheck the brush installation.
Strange Noises:
Bearings: If you hear grinding or whining noises, it could indicate improperly installed bearings. Ensure they are correctly seated and lubricated.
Alignment: Misalignment of components can cause noise. Double-check the alignment of the shaft, bushings, and other moving parts.
Overheating:
Electrical Load: If the motor is overheating, it could be due to excessive electrical load. Ensure the engine is not being overworked and that all connections are clean and tight.
Maintenance Tips For Prolonging The Life Of Your Rebuilt Starter Motor:
To keep your rebuilt starter motor working well for a long time, it’s important to take care of it regularly. Start by checking the motor every few months for any signs of damage or wear, like strange noises or slow starts.
Keep the area around the motor clean and free of dirt, as debris can cause problems over time. Make sure all parts are properly lubricated to reduce friction and prevent wear. Check that all electrical connections are tight and free from rust, as loose connections can make the motor work harder.
Finally, avoid overusing the starter by not cranking the engine too much if it doesn’t start right away—this can prevent overheating and other issues.
FAQs:
1. What vehicles are compatible with the 21153-7010 16121 starter rebuild kit?
The 21153-7010 16121 starter rebuild kit is compatible with a wide range of vehicles. However, it’s essential to check your vehicle’s specifications or consult a professional to ensure compatibility.
2. How long does it take to rebuild a starter motor using the 21153-7010 16121 kit?
The time required to rebuild a starter motor varies depending on your experience level. For a beginner, the process may take 2-4 hours, while an experienced individual could complete it in 1-2 hours.
3. Can I rebuild my starter motor without prior mechanical experience?
Yes, the 21153-7010 16121 starter rebuild kit includes detailed instructions, making it accessible even to those with limited mechanical experience. However, having some basic knowledge of automotive repair is beneficial.
4. What should I do if the starter motor still doesn’t work after rebuilding it?
If the motor does not work after rebuilding, double-check all components for proper installation and ensure all electrical connections are secure. If issues persist, consult a professional for further diagnosis.
5. How often should I replace the components in my starter motor?
The components in your starter motor typically last several years, but their lifespan can vary depending on usage and environmental conditions. Regular inspections can help determine when replacements are necessary.
6. Where can I purchase the 21153-7010 16121 starter rebuild kit?
The 21153-7010 16121 starter rebuild kit can be purchased from various online retailers, automotive parts stores, or the manufacturer’s website.
7. What Is The Typical Price Range For The 21153 7010 16121 Starter Rebuild Kit?
The price of the 21153 7010 16121 starter rebuild kit can vary depending on where you purchase it. Typically, prices range from $30 to $80, depending on the brand and the retailer. It’s a good idea to compare prices from different sources to get the best deal.
Conclusion:
The 21153-7010 16121 starter rebuild kit provides an excellent solution for restoring your starter motor’s functionality, offering a cost-effective and reliable way to extend the life of your vehicle’s starting system.
By following the detailed guide provided here, you can confidently rebuild your starter motor, ensuring it performs like new. The kit’s high-quality components, ease of use, and compatibility with various starter motors make it the go-to choice for DIY enthusiasts and professionals.
Latest Post: